
How to repaint a camper
This year, Grant and I purchased a 2003 Antigua Starcraft from some close friends of ours for an amazing price. We’d been looking at pop-ups for the past three years, but had never pulled the trigger because of how expensive they were. Then last summer, we thought we found the deal of a lifetime, but decided not to buy it. Then, this past December, our friends casually mentioned they were buying their parents’ old camper, and asked if we wanted to buy theirs off of them. It was a super easy yes!
When we finally had the camper in our hands, the first thing I wanted to do was repaint and reseal it. I wanted to make sure I did it right the first time around, and that I would get paint that would last for years. Digging around on the internet revealed only a few blog posts of people who had done it in the past, so I wanted to combine everything I did and didn’t do all in one place for you!
*Disclaimer: The links on this website are affiliate links, which means if you purchase from the links provided, we receive a small kickback at no extra cost to you! Thank you for supporting us so we can continue to bring you amazing content!
Step 1 – Starting on the outside
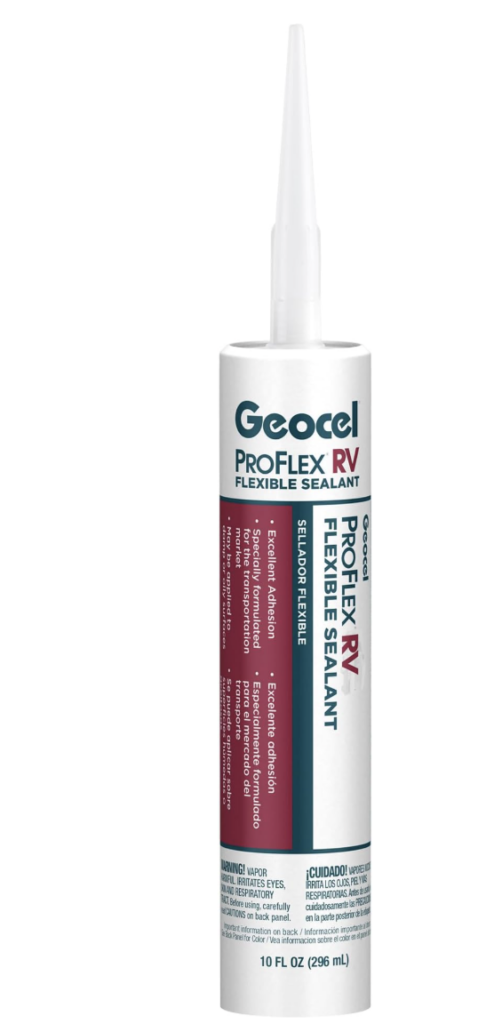
The first step before you even look at paint is to check the outside of your camper for any cracks, holes, or damage. Buy flexible caulk; you’re ensuring it withstands the rocking and movement of towing your camper. I recommend THIS caulk below!
Once you’ve checked for damage, the next step is to use a scraper and, if needed, a heat gun to remove all the stickers and decals. Because our camper was so old, most of the stickers flaked right off. I actually found that using a heat gun caused cracks in the fiberglass behind the stickers and changed the color because of the heat, so I stopped using it. I just used a sharp Craftsman flat-bladed knife to scrape all the stickers off. Below you can see the tool I used, and what it looked like before and after.

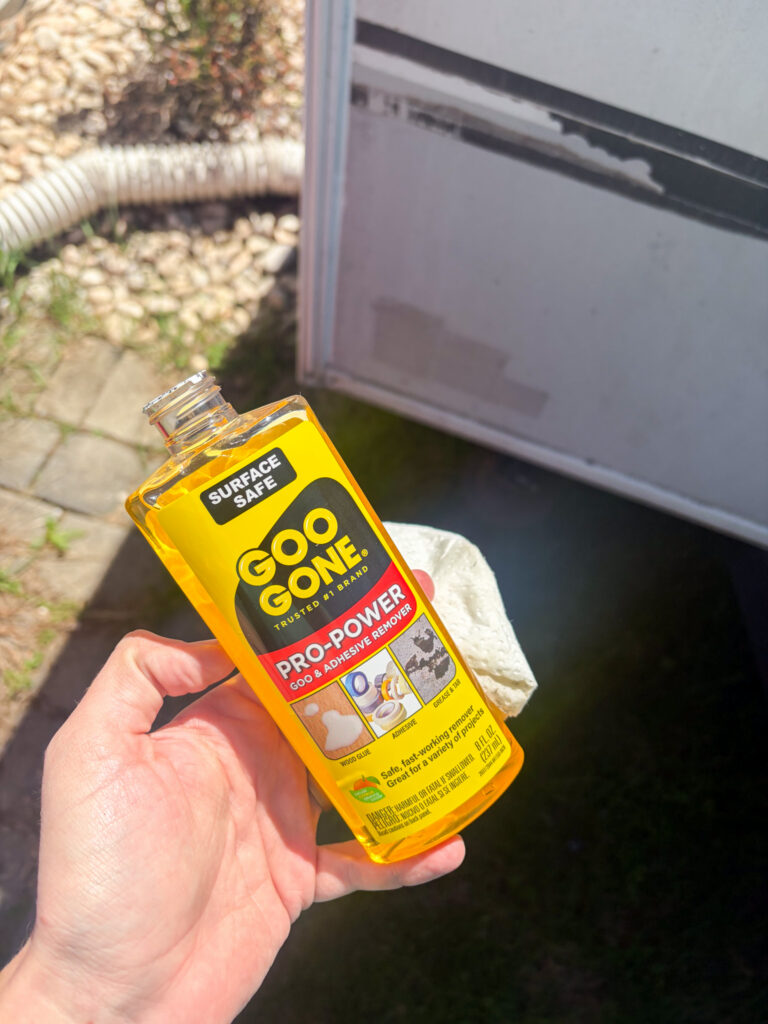
After removing the stickers from the entire camper, I made sure to scrub over the spots where the stickers were with Goo-Gone. One of the blog posts I read suggested scrubbing the entire camper with a degreaser. While I do agree with that, I didn’t do that. (I probably should have thought) I felt that using goo-gone was enough for my purposes, and to be honest, it was.
The next step was to scrub the whole camper. I used Dawn dish soap and a car scrubber, and hosed off the entire camper, scrubbing off dirt, grime, and any leftover lemon oil from the goo-gone. Then, I let the camper dry out in the sun. Remember, all of these steps combined took me roughly one month to finish. If you can finish everything in a few days, go for it!
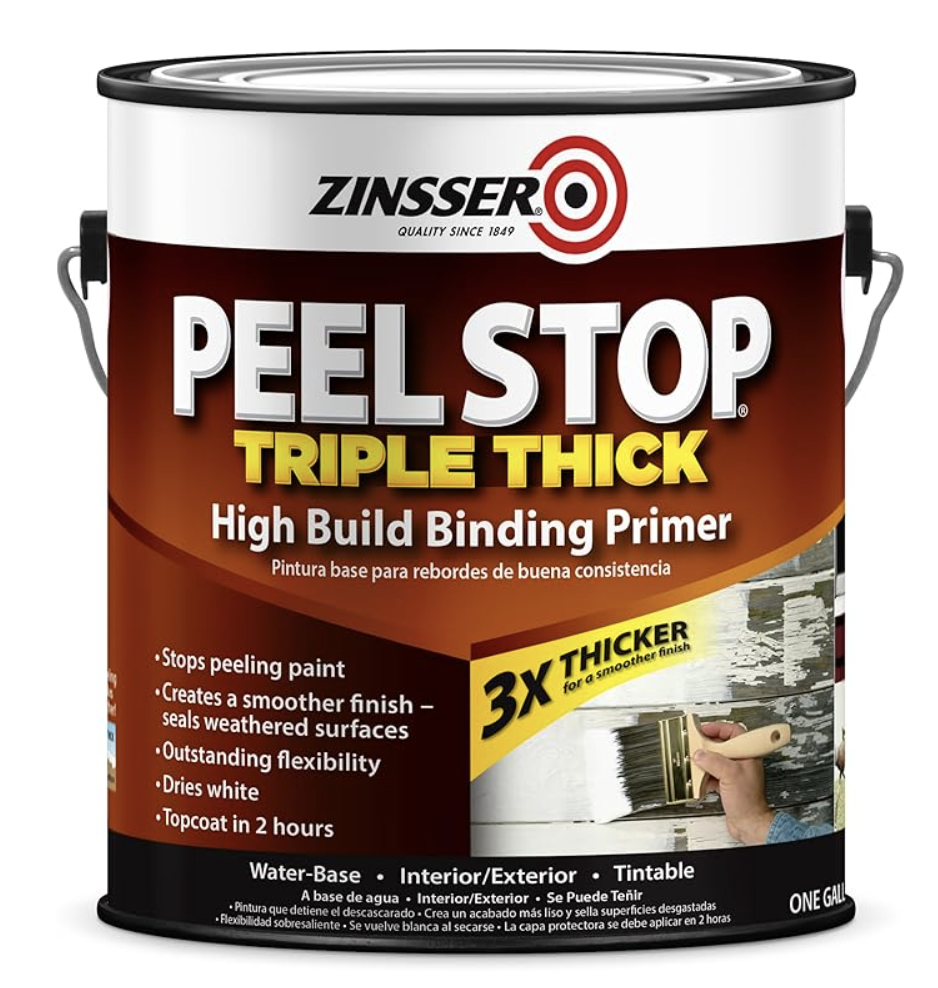
One of the blogs I read suggested sanding any difficult-to-get-off stickers with a fine-grit hand sander or applying peel stop over them. I didn’t use this peel stop, as all of my stickers came off pretty easy, but this is another option!
Step 2 – The Primer
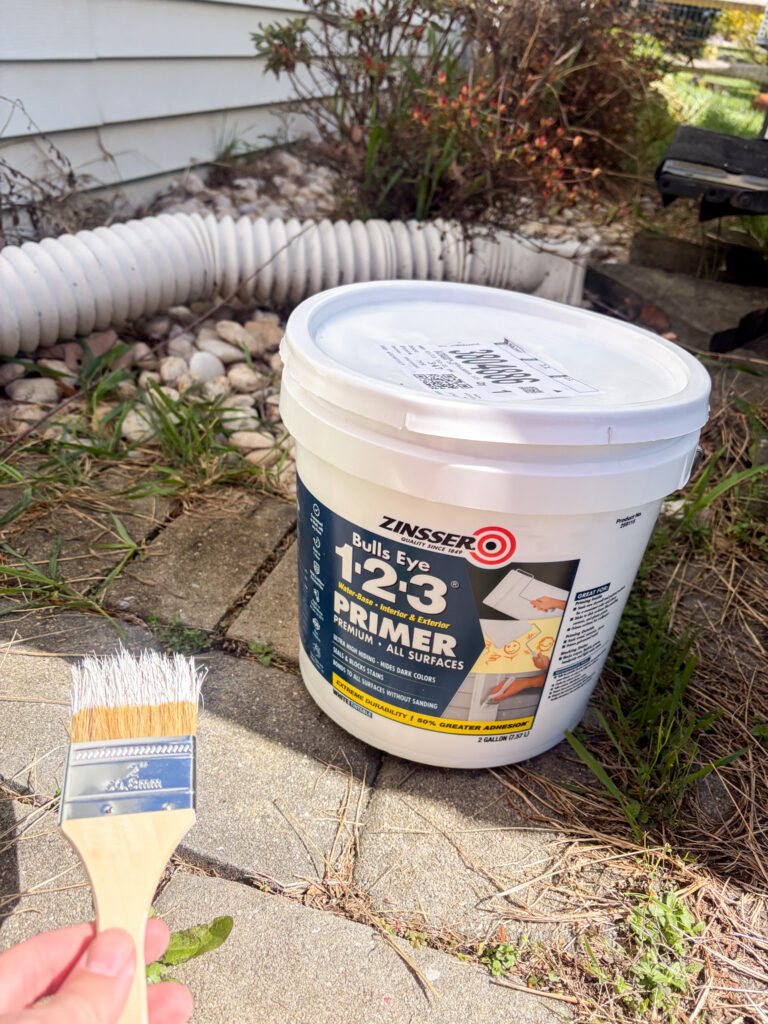
Step two is using a good primer. I did a bunch of research because I wanted to make sure that whatever paint I used didn’t peel off the first time a tree branch scraped it. This Zinsser Bulls Eye 1-2-3 Primer was suggested a few times, so I went with it! I bought a 2-gallon bucket from my local LOWES, and only used about half the can (for two coats).
Make sure you edge carefully before rolling, and choose a good knap roller to avoid creating bubbles as the paint dries. I did two coats, especially on the top half, because I was planning on painting the top half of our camper white and the bottom black.
Step 3 – The Paint
The paint was the hardest choice to make. There are a lot of options out there – water-based, oil-based, automotive, rust preventative, etc. The best suggestion was an automotive paint; however, expect to pay around $350 a gallon. I decided to go with an oil-based, more affordable option.
Dupli-Color was the first recommendation for paint. It’s automotive finish, giving it that hard, durable polish you want for your camper. It’s roughly $33 a quart, though, and depending on how big your camper is, that can be a little pricy. The positive is that they have lots of fun colors, so you could pick just about anything that you wanted! You had to use a paint sprayer for this paint, though, and we didn’t have one, so I skipped this option.

This automotive paint also popped up, but as I said, it was $350 a quart. And that was definitely NOT in our budget for painting.
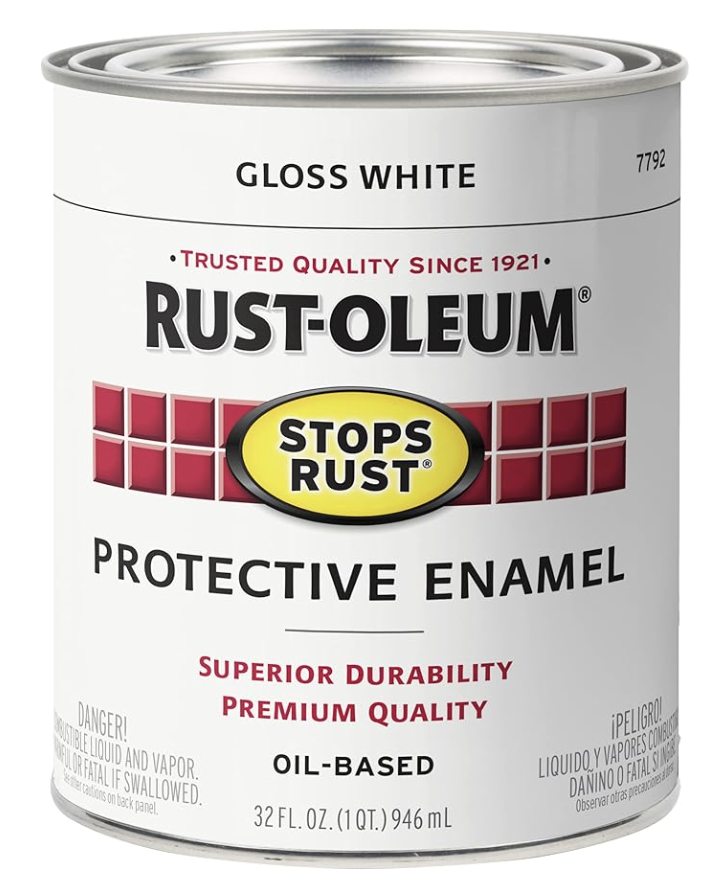
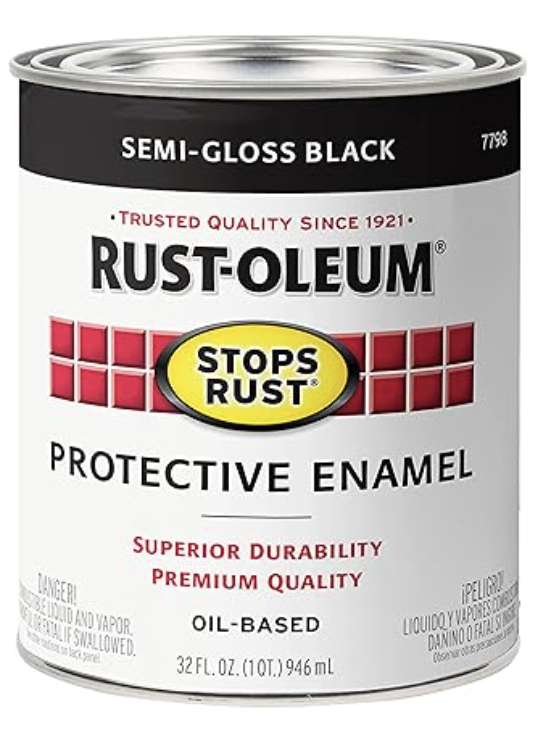
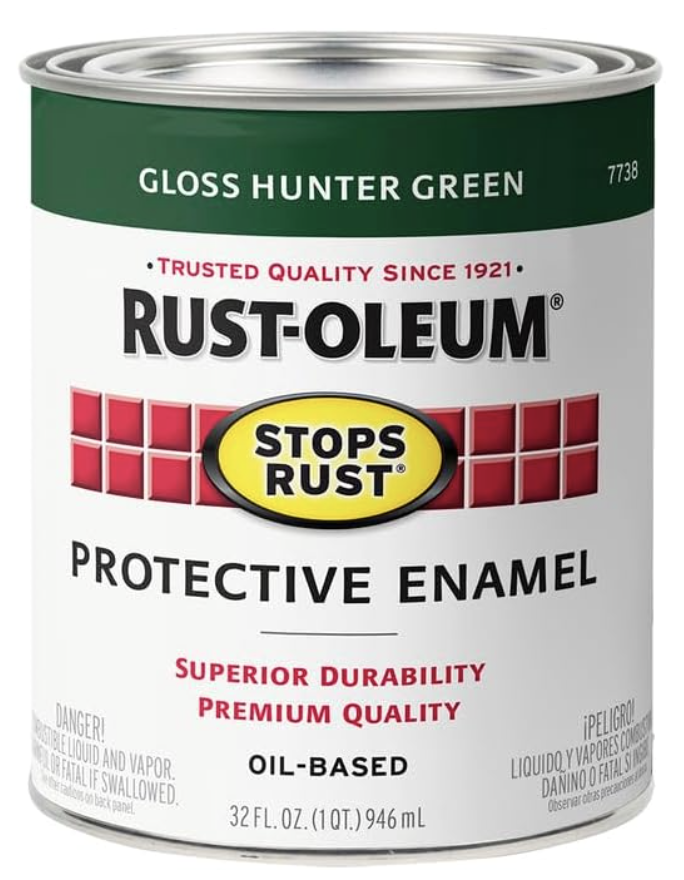
Our camper was 18 feet long and about 8 feet wide. I used 3 quarts of paint for the top half, and one quart for the bottom half (in a different color). I ultimately settled on Rustolem Oil-Based paint. I suggest using an oil-based paint for several reasons. It’s more durable, lasts longer, is less likely to crack or peel, and overall is more durable. It’s harder to wash off your hands (as an fyi, paint with gloves on!) and smells terrible, but the pros far outweigh the cons. We used gloss white, black, and green for our camper. For the whole camper with one coat of white, I used 3 quarts. For the black, I used one quart, and the green I also only used one quart, and had a lot left over.
Painting all the coats took me roughly 4 full days, between drying and touch ups and second coats.
Step 4 – The top coat
Finally, I wanted to choose a clear coat to go over the paint as protection against scrapes, tree branches, and more. I was afraid of all my hard work just peeling off, so I opted for a marine-grade clear coat that is used on RVs and boats. I found Toon-Brite, and it was one of the cheaper options, but I felt like it did an amazing job. I only used 2 quarts, and it smelled so horrible, so be prepared. I also used gloves to paint this on, and I’m so glad I did.
One thing to note, this is the consistency of water when you open it, which surprised me. I initially started rolling with it, and then realized that a roller was not a good idea. It was too saturated and was leaving large bubbles behind. I couldn’t roll out. I ended up hand-painting the whole camper with the clear coat and a sturdy 4″ brush. My hand hurt at the end, but it only took me about an hour to an hour and a half to paint the whole camper!

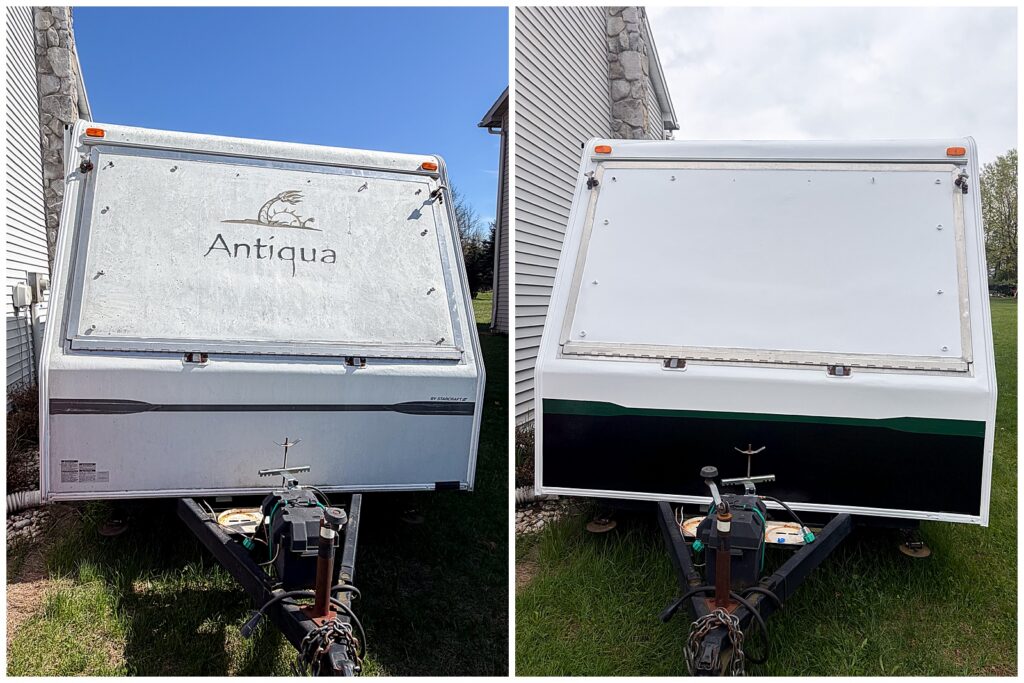
The Before & After
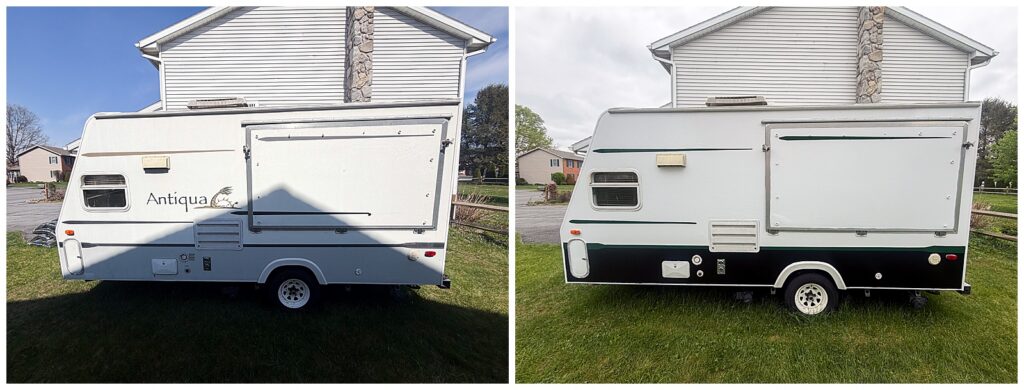
We wanted to keep the same clean lines as the original design, just change it up a bit, and I’m so proud of how it looks! A fresh coat of paint does wonders, and it looks like a brand new camper!
If you’re planning to repaint a camper, I hope this blog helped you! Let me know in the comments if you would add anything or are looking for more tips!

Be the first to comment